Wednesday, February 6, 2013

A 'bright' tag while eating crow....

Ok...this is for my coworker and friend Laura..  I HATE glue sticks....hate them, loathe them, despise them....As a scrapbooker, my past experience with using a glue stick was an epic failure!  The first scrapbook I ever made was put together using a glue stick....And, I have had to fix it a few times using GOOD adhesive since it was completed...  Glue sticks are horrible and I give Laura crap about loving them so much!  (She's addicted to them....LOL)  So I passionately hate glue sticks....Well, until the day  my boss stumbled upon a inky technique using the Collage Glue Sticks from Ranger.

This technique was featured in an e-mail newsletter that my boss received this week and is from, what is now, one of my new favorite blogs:  The Little Shabby Shed

This technique is so cool!  So cool, that I bought two Collage Glue Sticks....(Did you hear that thud?  That was Laura falling out of her chair...LOL)

Love this technique!  It kind of gives the effect of bleaching, but is much easier!!  I also finally got to use those pesky light bulbs that I've had for what it seems like years!  Love the bulbs, guess I just needed the right project for those light bulbs.  I got an industrial vibe once the tag started taking shape!

I also stamped and dyed the crinkle ribbon in this tag.  I learned my lesson from the last time I dyed the ribbon not to spray so much.  My hand is actually its normal color today!!  LOL  Off to go work on another tag.  Feeling like playing with some green ink and listening to some loud music!

Laters...

Monday, February 4, 2013

Another mixed media board....


Hi again!  It's been really cold this weekend, so I have been able to stay in and craft!  I'm getting my fingers really inky!!!

This is another mixed media board done on 1/4" plywood.  I stained the plywood using Tea Dye Distress stain.  Then, using Mod Podge, I added a torn piece of Melange Tissue Wrap, leaving a few wrinkles to give the background a little more texture.  I'm becoming really fond of the tissue wrap because you are able to see color through the tissue.  Then, using a stencil, I embossed the bricks in the upper right side of the board.  Using a different stencil and Distress Ink, I stenciled a strip on the bottom right.  While the ink was drying, which isn't very long, I spritzed a doily with Meadow Color Wash and heat set it.  After the doily was dry, I adhered it to the board.

In the upper right corner, I used adhesive pearl strips in three lengths.  (These are the Kaisercraft champagne pearl strips.  You get like 200+ pearls in a pack.  Such a great deal!!)  The butterflies are Studio Calico wood veneer pieces.  They were stained using Metallic Brass and Fired Brick Distress Stain.  Then, more pearls were used to create the body of the butterflies.  A 7Gypsies ephemera card was distressed with an Edge Distresser and inked with Walnut Stain.

This wouldn't be one of my projects if it didn't have a little twine on it somewhere!!  So the ornate plate from Tim Holtz Idea-ology was tied to the board using the twine.  The stamped sentiment, stamped in Olive Archival Ink and inked with Antique Linen, is from Tim Holtz Stampers Anonymous stamp set CMS100: Odds and Ends....


Saturday, February 2, 2013

Happy Mail and and the resulting tag...

Hi all!  It's FREEZING here in Ohio....brrr... It was 6 degrees this morning.....And we're supposed to get 3-5 inches of snow this weekend.   At least I don't have to go anywhere...

I came home from work today to a happy package full of some new Distress Stain colors and masks. I was really looking forward to receiving the mask from Studio Calico.

I've been wanting this chevron mask ever since I saw it when it was released.  And then, one of my crafty buddies used it in an art journal and I was hooked!!

I used Peacock Feather Distress Stain to do the background of the tag, softening the color with some water.  Then, I took the Chevron Mask and inked over it with Walnut Stain Distress Ink.

The doily was colored with Picked Raspberry stain and dried with a heat gun.


I really love the color of the Picked Raspberry with the Peacock Feather!!!

Twine was then wrapped around the tag a few times and was threaded through the center of the doily, tying a bow after threaded.  A trinket pin was then glued on top of the bow.  (I realized after placing the pin that the bow/pin combination resembled a butterfly or dragonfly.  After inking an adage ticket and attaching it with pop dots and adding my favorite twine at the top, the tag is finished!!

Happy Crafting!!

--LouLou


Thursday, January 31, 2013

A wooden tag this time....

At my work, Cupboard Distributing, we specialize in wood pieces for crafting and painting.  Since I don't paint, I've always been trying to incorporate my paper crafting with the wood.  And when the Distress Stains came along, I had my answer.

This tag is fairly simple, but it demonstrates how easy and handy Distress Stains are.  This tag was coated with Dusty Concord stain.

It literally only took about a minute to cover this tag with the stain.  And after I had coated the tag, I wiped off the excess with a paper towel and dried it with my Heat It tool.  (Drying is necessary, especially if you have intentions of working with embossing powders.  If you do not dry after distress ink of any type before you use embossing powder, your powder may stick to any 'wet' surface.  So to prevent unwanted embossing, take a few minutes to dry the project.)

I heat embossed a stenciled image on top of the stained tag.  Adding some finishing touches of adhesive pearls, ribbon, and a philosophy tag for good measure.

The ribbon is the Idea-ology Crinkle Ribbon.  I colored the ribbon with purple ink spray and crumpled it before I dried it with the Heat It tool.  Make sure you use gloves when crumpling the freshly inked ribbon.  (I should have listened to my friend Sherrie as I have a purple left hand at the moment!  LOL)

The sentiment is another from one of my favorite Tim Holtz sets: CMS 132 Words for Thought.  It was stamped on some scrap manilla tag I had and inked with some Stormy Sky Distress Ink.

Thanks for stopping by!  Hopefully will have some more new projects this weekend!!  I have BIG plans for a piece of plywood!

See you soon!!


(PS  The wood tags are available for purchase from Cupboard Distributing at the following link: Wooden Tags)

Tuesday, January 29, 2013

Another day, another tag....

Okay, so I've been busy lately.  I think this my favorite one I've done this year.  I'm predicting a lot of Paris or London themed  projects this year as this is the year of my European vacation.

The background was created  using Squeezed Lemonade, Peacock Feathers, and Shaded Lilac; the summer seasonal Distress Ink colors.

The images are all from the same Tim Holtz stamp set: CMS 106 Paperie.

I also used some Idea-ology pieces; pen nibs, hanger, film strip ribbon, and some tiny attacher staples.

Here's a close up of the tag:


A pattern you might notice in a lot of my projects is twine or hemp.  Depending on what effect I am going for, I have a thick and a fine hemp or jute twine.  I love using the natural color because it goes with everything.  I do have the fine in 4 other colors, but I definitely use more of the natural color.  I love using hemp or jute because it is a relative inexpensive embellishment.  I think it cost me $12 for the roll that had 400 yards on it.  What a great deal!!

Happy crafting!


Monday, January 28, 2013

European Vacation trip, 5 years in the making...

Finally, after years of talking about going on my European vacation for about 5 years!  It's happening this summer!  I cannot begin to describe how excited I am!!  Not only do I get to see loads of family that I haven't seen since I was twelve, I get to do touring in England that I never had the opportunity to do when I was a child.

I'm going on this adventure with my bestie, Alicia, and my sister-in-law, Dawn.  We leave on June 28th, a little over 5 months away and this date can't come fast enough!!

We fly into Dublin for a short stay.  We're planning on touring the Guinness factory in Dublin, visiting the Temple Bar (which is the smallest pub in the world), and then taking a day bus tour up to Blarney Castle to kiss the Blarney stone.  And, a new experience for me:  we're staying in a hostel in the Pub District of Dublin!  (Not sure that being in the Pub District is going to be a good idea...haha)

Then, after two days in Dublin, it's off to England via ferry and train.  We will be staying with my Aunt and Uncle near Banbury for a little over a week.  While in England, we plan on doing lots of touristy things; Buckingham Palace, St. Paul's Cathedral, British Museum, and Madame Tussauds (where I finally will be able to get up close and personal with Robert Pattinson, be it a wax figure of the man...LOL).

We're also planning a ride on the London Eye, trips to Westminster Abbey, Big Ben, Parliament, Windsor Castle, and of course, the Harry Potter Warner Bros. studio tour.  We're all VERY excited about the Warner Bros. studio tour as the three of us are all Harry Potter nuts!! LOL

Outside of London, we're going to check out Stratford-On-Avon, a place that I visited during one of my summers in England as a child.  Because I was so young, I don't think I fully appreciated the visit and the history of the area.  And, of course, no trip to England will be complete without a visit to Stonehenge.

After a week or so in England, we're going to take the Eurostar to Paris.  We've rented an apartment in central Paris for a week's stay.  We've got a HUGE list of things to see in Paris; the Eiffel Tower, Arc de Triomphe, Napoleon's Tomb, Moulin Rouge, the Louvre, Musee d'Orsay....the list is endless.  And the funny thing is that I think we're all most looking forward to the food.  I'm probably going to gain 10 pounds during the week in Paris!  I cannot wait to eat crepes and pastries!!  YUM!

The next major thing I have to do is buy my plane ticket next month and then make it through about 5 months of waiting!  We're planning on buying a lot of the tickets in advance so that's one less thing to worry about!

How will I make it???  LOL

Off to do some housework....  YUCK!

Sunday, January 27, 2013

A bright tag....

Just got home from a crop at work.  Finally got around to playing with the seasonal Distress.  And I've discovered that some of the seasonal ones are my favorite ones yet!  Especially Peacock Feathers, Salty Ocean, and Squeezed Lemonade.

Below is a tag that I completed. Again, I won't go into much detail other than the colors used as I will be teaching these in a class in March.

I absolutely love the seasonal colors!!  The seasonal colors were originally in sets of threes and are now available individually.

Spring: Shaded Lilac, Squeezed Lemonade, Peacock Feathers

Summer:  Mowed Lawn, Salty Ocean, Picked Raspberry

Autumn: Ripe Persimmon, Seedless Preserves, Gathered Twigs

Winter: Iced Spruce, Festive Berries, Evergreen Bough


On this tag I used Squeezed Lemonade, Picked Raspberry, Shaded Lilac, and Salty Ocean.  (And before all the embellishments, the background reminded me of a rainbow tie-dye shirt..LOL)

I also used a little bit of Dylusions Ink Spray on the tag.  The Dylusions colors are absolutely stunning and vivid!  I was so happy to hear that they released 6 more colors at CHA this year!!!


This is the close-up of the sentiment.  This is one of my favorite Tim Holtz stamp sets from Stampers Anonymous. (CMS 132: Words for Thought)

This sentiment was stamped with Salty Ocean and coated with some Rock Candle Crackle Paint.


It's definitely nice to have my crafty mojo back after it's 6 month hiatus!!

Off to finish watching some Adam Levine on SNL!!

Until later!


Friday, January 25, 2013

Back to inky fingers....

Apparently, I have been on a hiatus from crafting.  Between family things with a sick relative, work, and illnesses, my life has been crazy.  And, not to mention, planning a European vacation with my bestie and my sister-law, also monopolizes a lot of my time...

So now we're back to inky fingers....and the returning of my crafting mojo....and I've decided to dabble in some more mixed media.....


This is done on a 1/4" piece of plywood and could possibly be a class I teach later on this year.  I really enjoyed just 'playing' with the ink, stain, markers, and embossing powder..

Tomorrow, I will be getting really inky at the crop at work.  Got to get some more samples done!!

Until later....


Saturday, August 4, 2012

AWOL...oops

I tell you, life has been uber crazy lately....It seems like I don't have any time to do anything.  Here it is already August and I feel like the year has flown by!! 

I haven't had much creative time lately, which isn't good because my first craft show is early October and I have nothing done....

I did sell a few things in town...a few domino magnets and some glitter jars....The main item I plan on selling at Oktoberfest are glittered ornaments, but I can't get ornaments yet...  :(  Still looking for them...

Since my last post, I've been to see Elvis with Raine.....

We had a wonderful girls weekend in Memphis....spending one day with the King at Graceland.  This was Raine's first time there, my fourth....We were VIPs there, got a 'private' shuttle across to the mansion and a special exhibit at the mansion.  Never get tired of going to Graceland...It always seems that there is a new exhibit everytime I go there!


Last weekend, I had pit tickets with Alicia to see our favorite band, Rascal Flatts, in Chicago.  One word for this: AMAZING!!  I don't think I will ever get over the experience! 


Talk about close!  Phew!  Alicia even got 'sweated' on by Joe Don....LOL

These are some of my favorite pics from the concert.  These were taken with no zoom used on the camera....Can you believe it?

Well, I'm off to my latest addiction now: the couch for the Olympics...I just can't get enough!!

Hope to get some crafting done this weekend!  Or maybe I will spend another weekend engrossed with Christian Grey....

Laters baby.  ;)


Saturday, April 7, 2012

Easter egg coloring....

Hubby wanted to color eggs for Easter...  I haven't done this in years, but we had a lot of fun.....


 So we completely tore out our front garden today and we're both dog tired.....Completely ripped out the garden, laid down weed barrier, and then lava rock gravel.  We originally bought 10 bags of rock, then had to go buy 15 more bags, and that wasn't enough either....ugh....so off to Wal-Mart for 5 more bags.....

We finally got it completely done at 7pm...just in to go pick up the pups from the groomer....They got their first haircuts and look how cute they are....


They have Easter egg stickers on their foreheads....LOL

This girl is off to bed.  Everyone have a Happy Easter!!


Friday, April 6, 2012

Something new....

Hubby and I have decided to try out our green thumbs this year.  So we went to the store and bought a mini greenhouse and some seeds.  We got uber-hot peppers (habanero and jalapeno), sweet bell peppers, mint, tomatoes, and cucumbers.   We planted the seeds last week and now look at them:

The massive seedlings at the top of the screen are the cucumbers.  They sprouted up first and everything else is slowly trailing behind them.  We have no growth as of yet on the mint, which is highly unusual as it seems like that stuff can't be killed.

Once the seedlings are ready, which should be in about 4-6 weeks, we are going to make a mini garden out in our backyard where the pups can't get to.  So hopefully this summer we'll have fresh veggies to use.  We'll see how green our thumbs really are.

Off to bed....

Tuesday, April 3, 2012

A sign....

My creative mojo has been really flowing lately....Not sure if it is my sudden lack of ability to sleep or what, but I guess it's not such a bad thing.  I've got all my classes done from now through June....LOL

Been messing around with Distress Stains a lot lately...Really love how they work on wood....It's nice to be able to get a great background color on the wood without having to break out the acrylic paints....And the best thing: it takes one coat....no sanding or sealing of the wood necessary!

Here is my latest result of dabbling with Distress Stains:

This wooden sign was based with Walnut Stain Distress Stain.  I used the Fanciful Flight die to make the butterfly.  The butterfly's top layer was made with grungepaper and the bottom layer was cut from a manilla tag.  The bottom layer was inked with Distress Inks in various colors and assembled with the top layer.  Then I filled in all of the 'wing spaces' with Rock Candy Distress Stickles.   This gives the wings an almost transparent effect. Pretty cool huh?


I really love the new Word Bands from Tim Holtz Idea-ology line.  This Word Band was rubbed with Pearl Paint Dabbers to make the letters stand out.   The Word Band was adhered to the sign using Matte Medium and hemp twine.  This twine has been my go-to embellishment lately.  I love it because it matches just about anything.  I love this twine so much that I decided to order it in black last week...  LOL


Thanks for stopping by....

Sunday, April 1, 2012

A layout....

I have been getting quite a lot accomplished in the Scrap Cave since I've reorganized it.  Here's the most recent one:

This layout is from our Gatlinburg vacation last October.  We had our 4 year old nephew with us and he loved to play putt-putt (or as he called it "golf-golf").  I used the Bo Bunny Grease Monkey collection, some Thickers, and some bright blue cardstock.  (Grease Monkey was one of my faves from Bo Bunny released a few years ago.)  All of the stickers from Bo Bunny were dusted with powder to remove the adhesive and pop-dotted to five a little dimension.


I realized after completing this layout that I have about 20 more pictures of 'golf-golf' to scrap.  (The boy really liked to play golf when we were down there. LOL)

Meanwhile, while I was scrapping, Simba kitty decided to come and help me scrap....Here's some pictures of my little assistant.  As you can see, he likes to get right in the middle of my work area and 'sun' himself under my Ott Lite....


Well, going to watch some 'An Idiot Abroad' before the pizza gets here.


Friday, March 30, 2012

Another day, another tag....

I'm having a lot of fun making these wooden tags....This one is based with Fired Brick and Wild Honey Distress Stains and allowed to dry.  Then, using the Wallpaper stamp from Tim Holtz CMS126, I embossed the background with gold WOW! embossing powder.

Next, using tissue tape and a cardstock circular base, I created a rosette.  Then, I used some Adornments from the Ideaology charm pack.  To make them match my background, I colored them with gold alcohol ink.  I adhered the wings and crown to the rosette using a strong adhesive such as Studio Matte Medium or Glossy Accents.  A Fractured Doll was adhered on top of the wings and crown.  Once the embellishments were set, I inserted a memo pin and distressed Adage ticket (inked with Peeled Paint) behind the rosette and adhered the entire circle to the tag.  I finished off the tag with some green lace and a crystal bauble.

Want to learn more about Distress Stains?  Look for a class or two being offered at my LSS in the next couple of months!  In the meantime, happy scrappin'!!  :)

Wednesday, March 28, 2012

Just messing around....

Finally getting to where I can focus in the scrap cave so I did so messing around with some wood tags, powders, and stains....

The first tag is based with Weathered Wood and Bundled Sage Distress Stain and allowed to dry.  Then, using the Wood stamp from stamp set CMS126, I embossed the image onto the tag using brown embossing powder.

Taking pieces of the foliage, I embossed them with various embossing powders (white, purple, green, and orange) and allowed them to cool.  The green powder was Metalline Green from WOW! and is one of my new favorite embossing powders.  Using an ornate plate and an adage tag, I assembled the title and adhered it to the tag using Matte Medium.  Then, I adhered the foliage to the tag with the Matte Medium.

This tag was finished off using May Arts twine, which is one of my new favorite, go-to embellishments.   I love this stuff and it comes on a 400yd roll!!  :)


Off to the Scrap Cave for another go round....  :)

Absent....

I have been absent from the blogging world for 2 months!  EEEK!  Lots has happened in those two months....My dear aunt was hospitalized for about 5 weeks.  They still aren't completely sure what was wrong but I'm happy to say she is recuperating in a rehab facility now.  (And back to her spirited self, I might add...) 

I've been quite the traveler so far this year...Two trip to West Virginia to see my aunt, a trip to Chicago to see the bestie, a work trip to Las Vegas, and numerous trips to Columbus....And that's just the beginning of my travels this year!  I am definitely going to get some frequent flyer miles this year!

I got a Kindle in January and let me just say I ADORE this little gadget.  I've read more since I have had the Kindle than before..  (And it proved to come in very handy on the plane to Vegas and in the waiting room of the hospital!)  It's so easy to get addicted to the e-books!  And it's so great that I can carry the thing in my purse wherever I go!!


I've also been attempting for like the millionth time to reorganize the Scrap Cave...  It's not really conducive to crafting (especially since I have to share it with the hubby and his XBox...ugh).  So I bought a few more plastic drawer sets and a shelving unit.  We've kind of begun to block of my little area from the rest of the room and so far it's looking good.  It's now just a matter of putting stuff back where I can find it and reach it.   I got a cool little ink tower as a gift to store all my precious Distress inks.  This thing is SO cool.  It holds all 42 distress inks and reinkers as well as a few Distress Stains... and the best thing: it has flaps to cover the inks so it can be transported!!!!  Woohoo!!! I no longer have to take 3 baskets to get all my inks to a location!!  :)

Well, it's late and the pup's snoring so I think that's my cue to hit the sack!!  Nighty night!

Wednesday, January 25, 2012

An altered canvas....

I did this canvas for work and I have to say I just love altering things....I was given a kit to make a sample for and this is what I came up with....

The kit contained a selection of papers from the 7 Gypsies Lille collection, bottle caps, a yard of Prima lace ribbon, and a bottle of Stickles....

To be honest, this was my first experience with bottle caps....It took we a while to figure out what to do with, but I'm rather pleased with the result....

We're off to Chi-town tomorrow for a visit with one of my besties.....I'm uber-excited as I haven't seen her since July!! 

Happy Scrappin!!

Thursday, January 5, 2012

Happy New Year!

Five days into the new year!  Happy 2012 everyone!  Lots of ideas for new projects this year.  Starting in February, I will be teaching a Tim Holtz technique class every month at the Scrapbook Outlet so I need to start prepping for that....It's always hard to get in the swing of classes every year, but it's so fun.

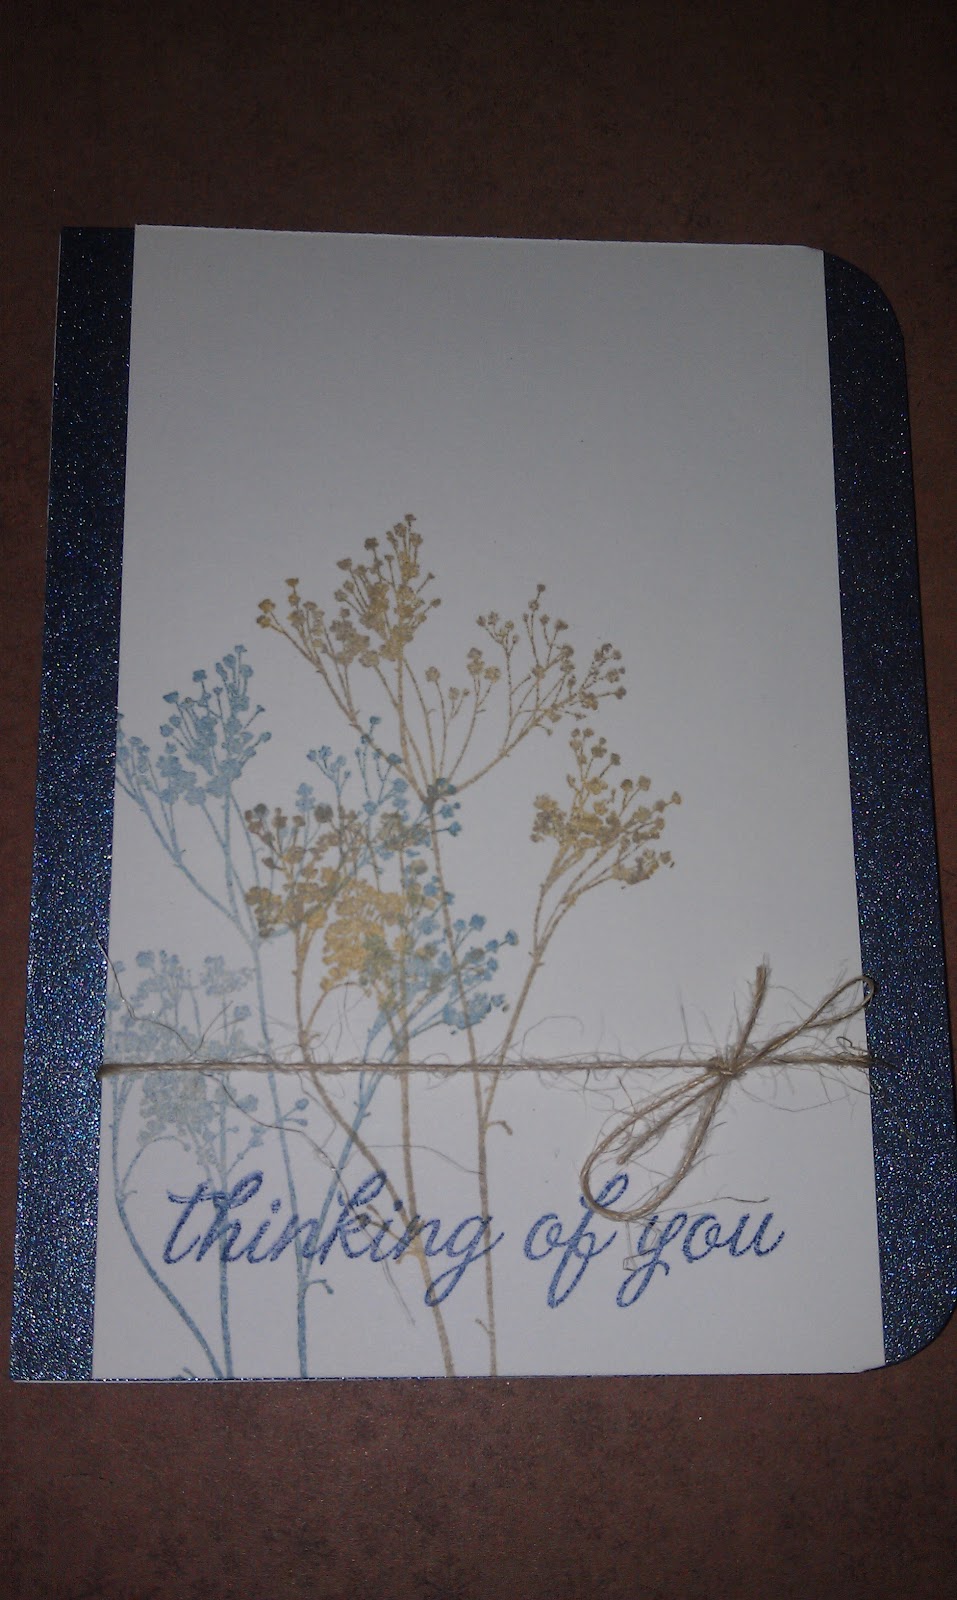
While trying to get into the creative mood, I created this little card using some Distress Ink, Tim Holtz Stamps, and Hero Arts Stamps.  It's along the same lines as the card I posted last month, but a change on the colors.  I always have problems making sympathy cards and this one seems to be suiting for such an event.  I think I might even do a class on this sometime.  Maybe quite a few cards....I always like to take a class when you have a lot to take home...  :) And there's nothing better than a quick card....So maybe this class will be fast-paced with quite a few cards being made....focusing on simple techniques that can be reproduced in quantities in little time.  The problem will be keeping all the stamping within the two stamp sets.  The Hero Arts set has multiple sentiments so it won't be a problem....I'll have to see how many different backgrounds I can come up with using the Tim Holtz set!  I have some new Spellbinders on the way so maybe that will help matters a little bit!!  :)

Well, hopefully this weekend I will get my Scrap Cave sorted back to where it was pre-Christmas...  It's a disaster in there right now!!  Hubby got me an Ott-lite for Christmas and I haven't had a chance to use it just yet.  Super excited about this light!  I use them at my scrapbooking retreat in Michigan and love the light they produce!  In the Scrap Cave, the light is not very bright and I sometimes have troubles seeing different shades of colors.  I'm sure this light will help a TON!

Well, I need to go warm up with a cup of coffee and finish watching my shows on TV....

Happy Scrappin!

Wednesday, December 28, 2011

Christmas is over....time for New Year's...

Well, the hectic Christmas time is over and I believe I won't recover until next weekend...  Hubby and I visited both his and my families, spending Christmas morning with his family and Christmas afternoon with mine....I got to watch all the nephews and nieces open their presents...And I have to say that there is nothing better than seeing the 4 year old come down and look at what Santa left for him!! 

So we're closing out 2011 and entering into 2012....I usually have a hard time keeping resolutions....I did cut back on scrappy supply spending this year, which was one of my resolutions.  For 2012, hubby and I talked and decided to make a joint resolution....We're going to try a new recipe once a week....I think this came from my upgrade of cooking utensils this year.  After receiving new Paula Deen cookware and a Paula Deen knife set this year, I am going to put them to good use.  So every week, we are going to scour both cookbooks and the internet for a somewhat-easy recipe and make it together.  Not only will this prevent us from eating fast food one night a week, but we will also get to spend time together...

Another one of my resolutions is to scrapbook more.  I have tons of supplies and it never seems like I have time to do anything with them.  So I am setting a goal of at least one project a week.....whether it's a layout, card, or other project.  Maybe I will be able to get some crafty time in this weekend....

This weekend, I think hubby and I will go out for New Year's Eve....we usually stay in, but I think we're just going to go to the local American Legion, which is about a minute drive from our house.  We'll spend the night with the family at the Legion....

Look for more projects in the New Year!  I hope to get more followers (another one of my 2012 goals). 

Happy New Year!!

Saturday, December 24, 2011

Merry Christmas Eve....

Well, all the presents are wrapped, the food is made (just needs to be baked), and I can relax...phew....We kind of procrastinated....getting all the gifts way late and not wrapping until last night... We definitely pulled a late-nighter getting them all finished up at 2am....(yawn)

This year, hubby's family is making gifts for everyone....so I made everyone some glittered ornaments as shown in a previous post here: Glittered Ornaments.  I was also looking for another project and came across an idea in the November/December 2011 of Paper Crafts....On the cover they had a mason jar candle holder.  Using that basic set up, I tweaked it a little.

Starting with a mason jar, I found a votive holder that would sit in the mouth of the jar.  Then, I made bands to wrap around the jar out of paper.  I cut a vintage Christmas greeting out of Graphic 45 paper.   I finished the jar up by wrapping twine around the lip, tying a bow, and adhering a poinsettia on top of the bow.  I made 4 of these and filled them with different treats for the family....


 Supplies used:
  • mason jars
  • votive holder
  • super tape
  • glue dots
  • May Arts Twine
  • Martha Stewart Punch: Infinite Double Loops
  • gold metallic cardstock
  • Graphic 45 Christmas Past Collection
  • Petaloo Red Velvet Poinsettias
Thanks for looking!  Merry Christmas!